
Motocross Graphics and
Helmet Wraps Installation
IMPORTANT: **THIS IS NOT A WET APPLICATION**
The material of your graphics is a revolutionary designed print film specifically to be installed dry.
Any use of liquids will prevent the adhesive from adhering to the intended surface.
The material your decals are comprised of is a Pressure Sensitive High-Performance Vinyl with FLO Technology.
This feature allows for an easier application for the installer.
Surface Preperation:
-Proper cleaning and preparation of substrate prior to decal application is
critical to the success of the process.
-It is recommended to use new un-used plastics
- Remove all dirt and grime with a commercial detergent solution and water followed by Isopropyl alcohol.
- If grease, oil, wax, etc., are present, the substrate should be scrubbed with solvents if necessary.
-Dry the surface with some low heat and wipe once again with a dry lint-free rag.
- Make sure the surface is cool to the touch and out of the sun.
-Recommended temperature for installation is between 65-75 degrees Fahrenheit.
Recommended Tools:

-Lint-free cloth
-Isopropyl Alcohol
-Razorblade or Knife
-Heat Gun
-Squeegee
Installation Steps:
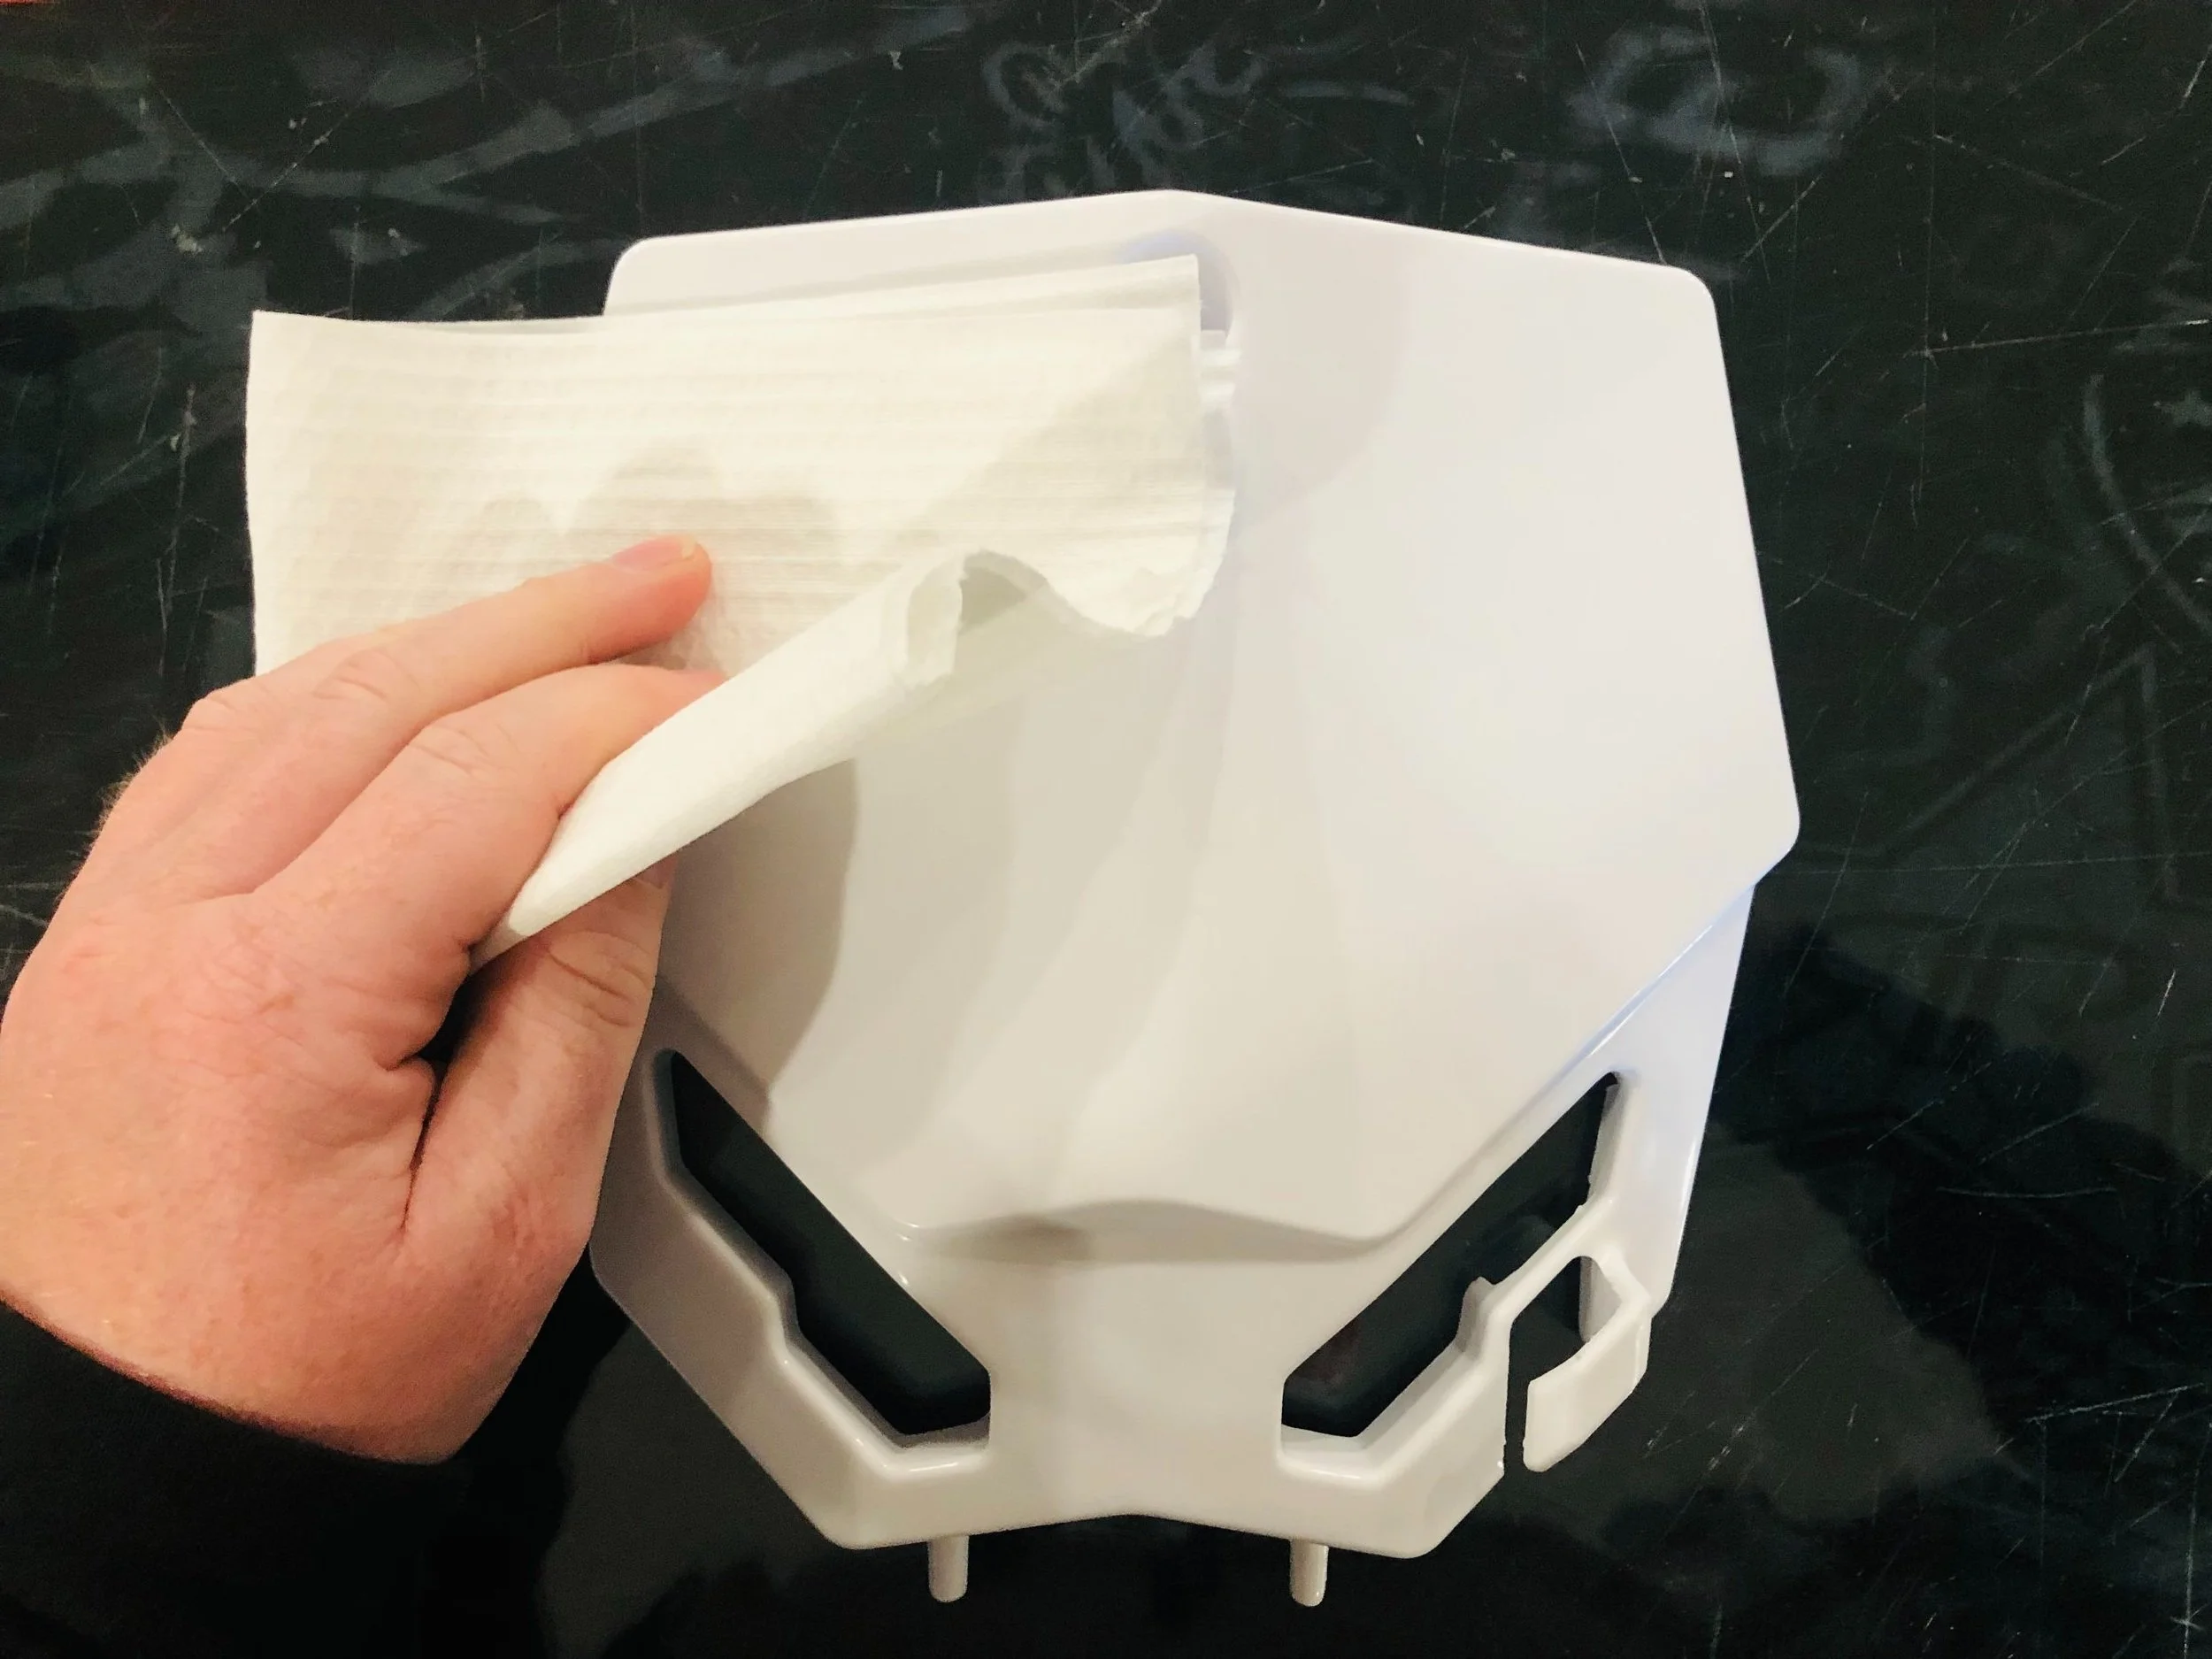
Step 1:
Clean plastics thoroughly with a cleaning solution and a lint-free clothe. Make sure plastics are dry before you start application.
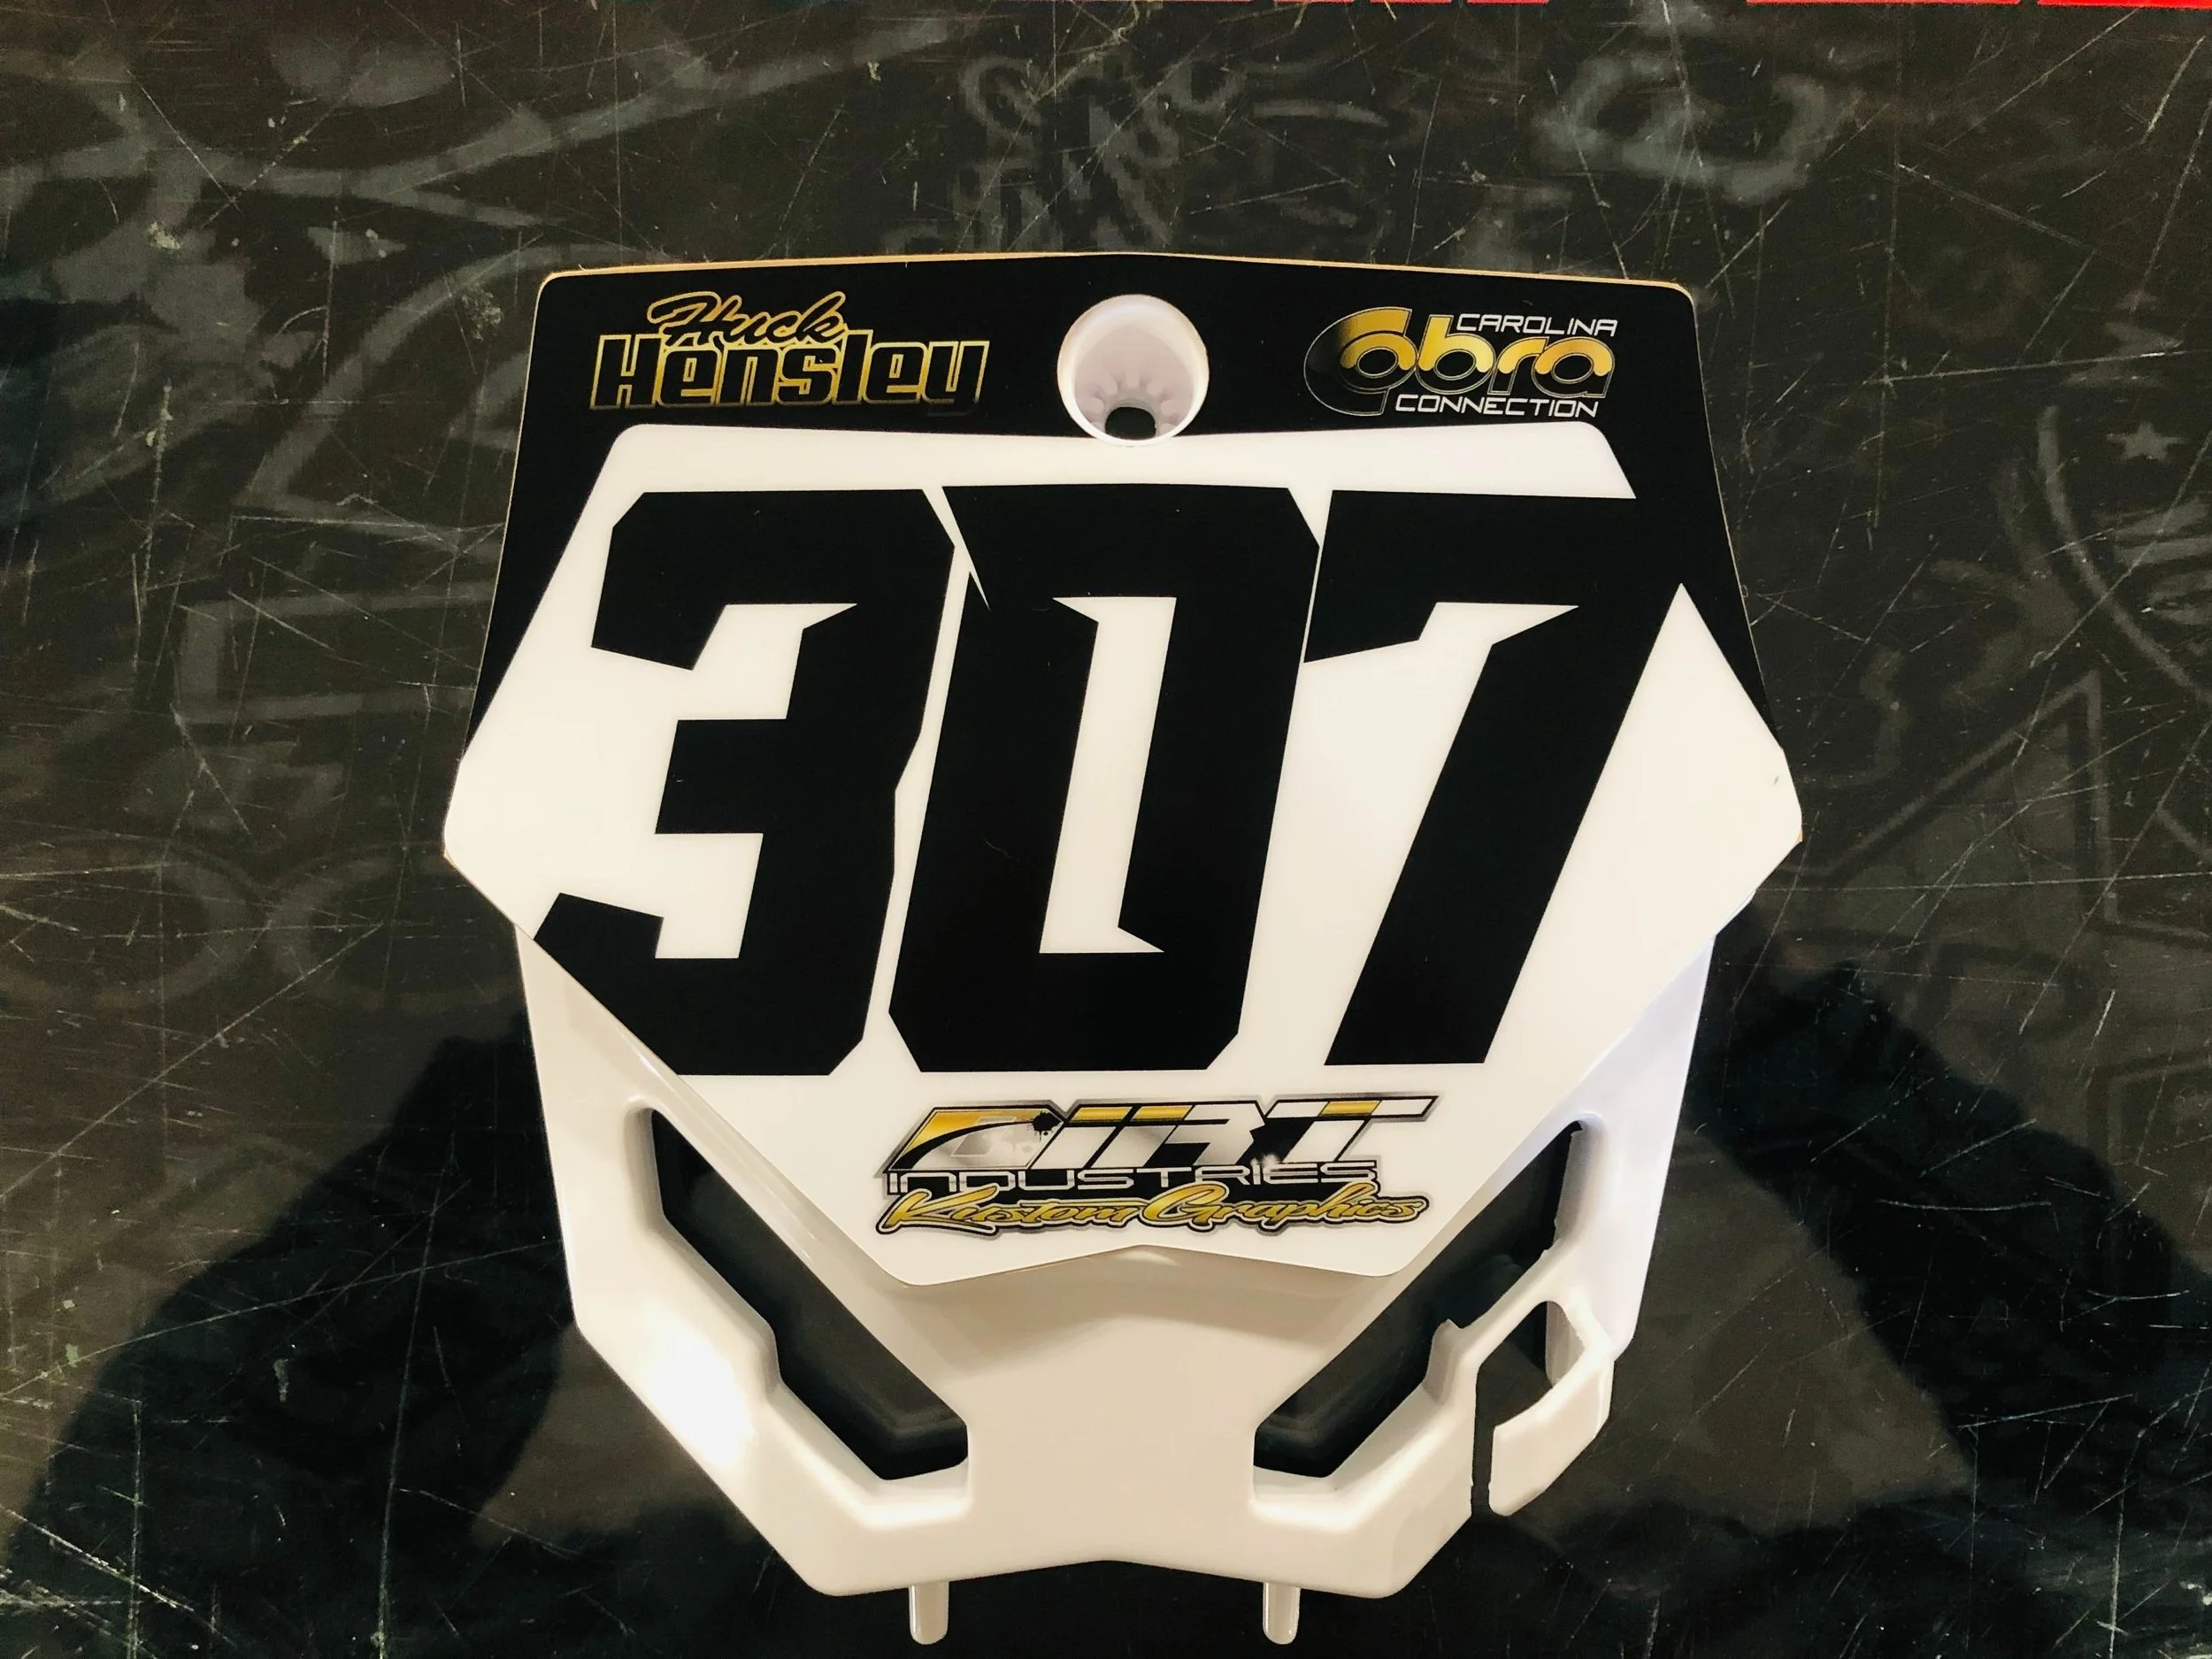
Step 2:
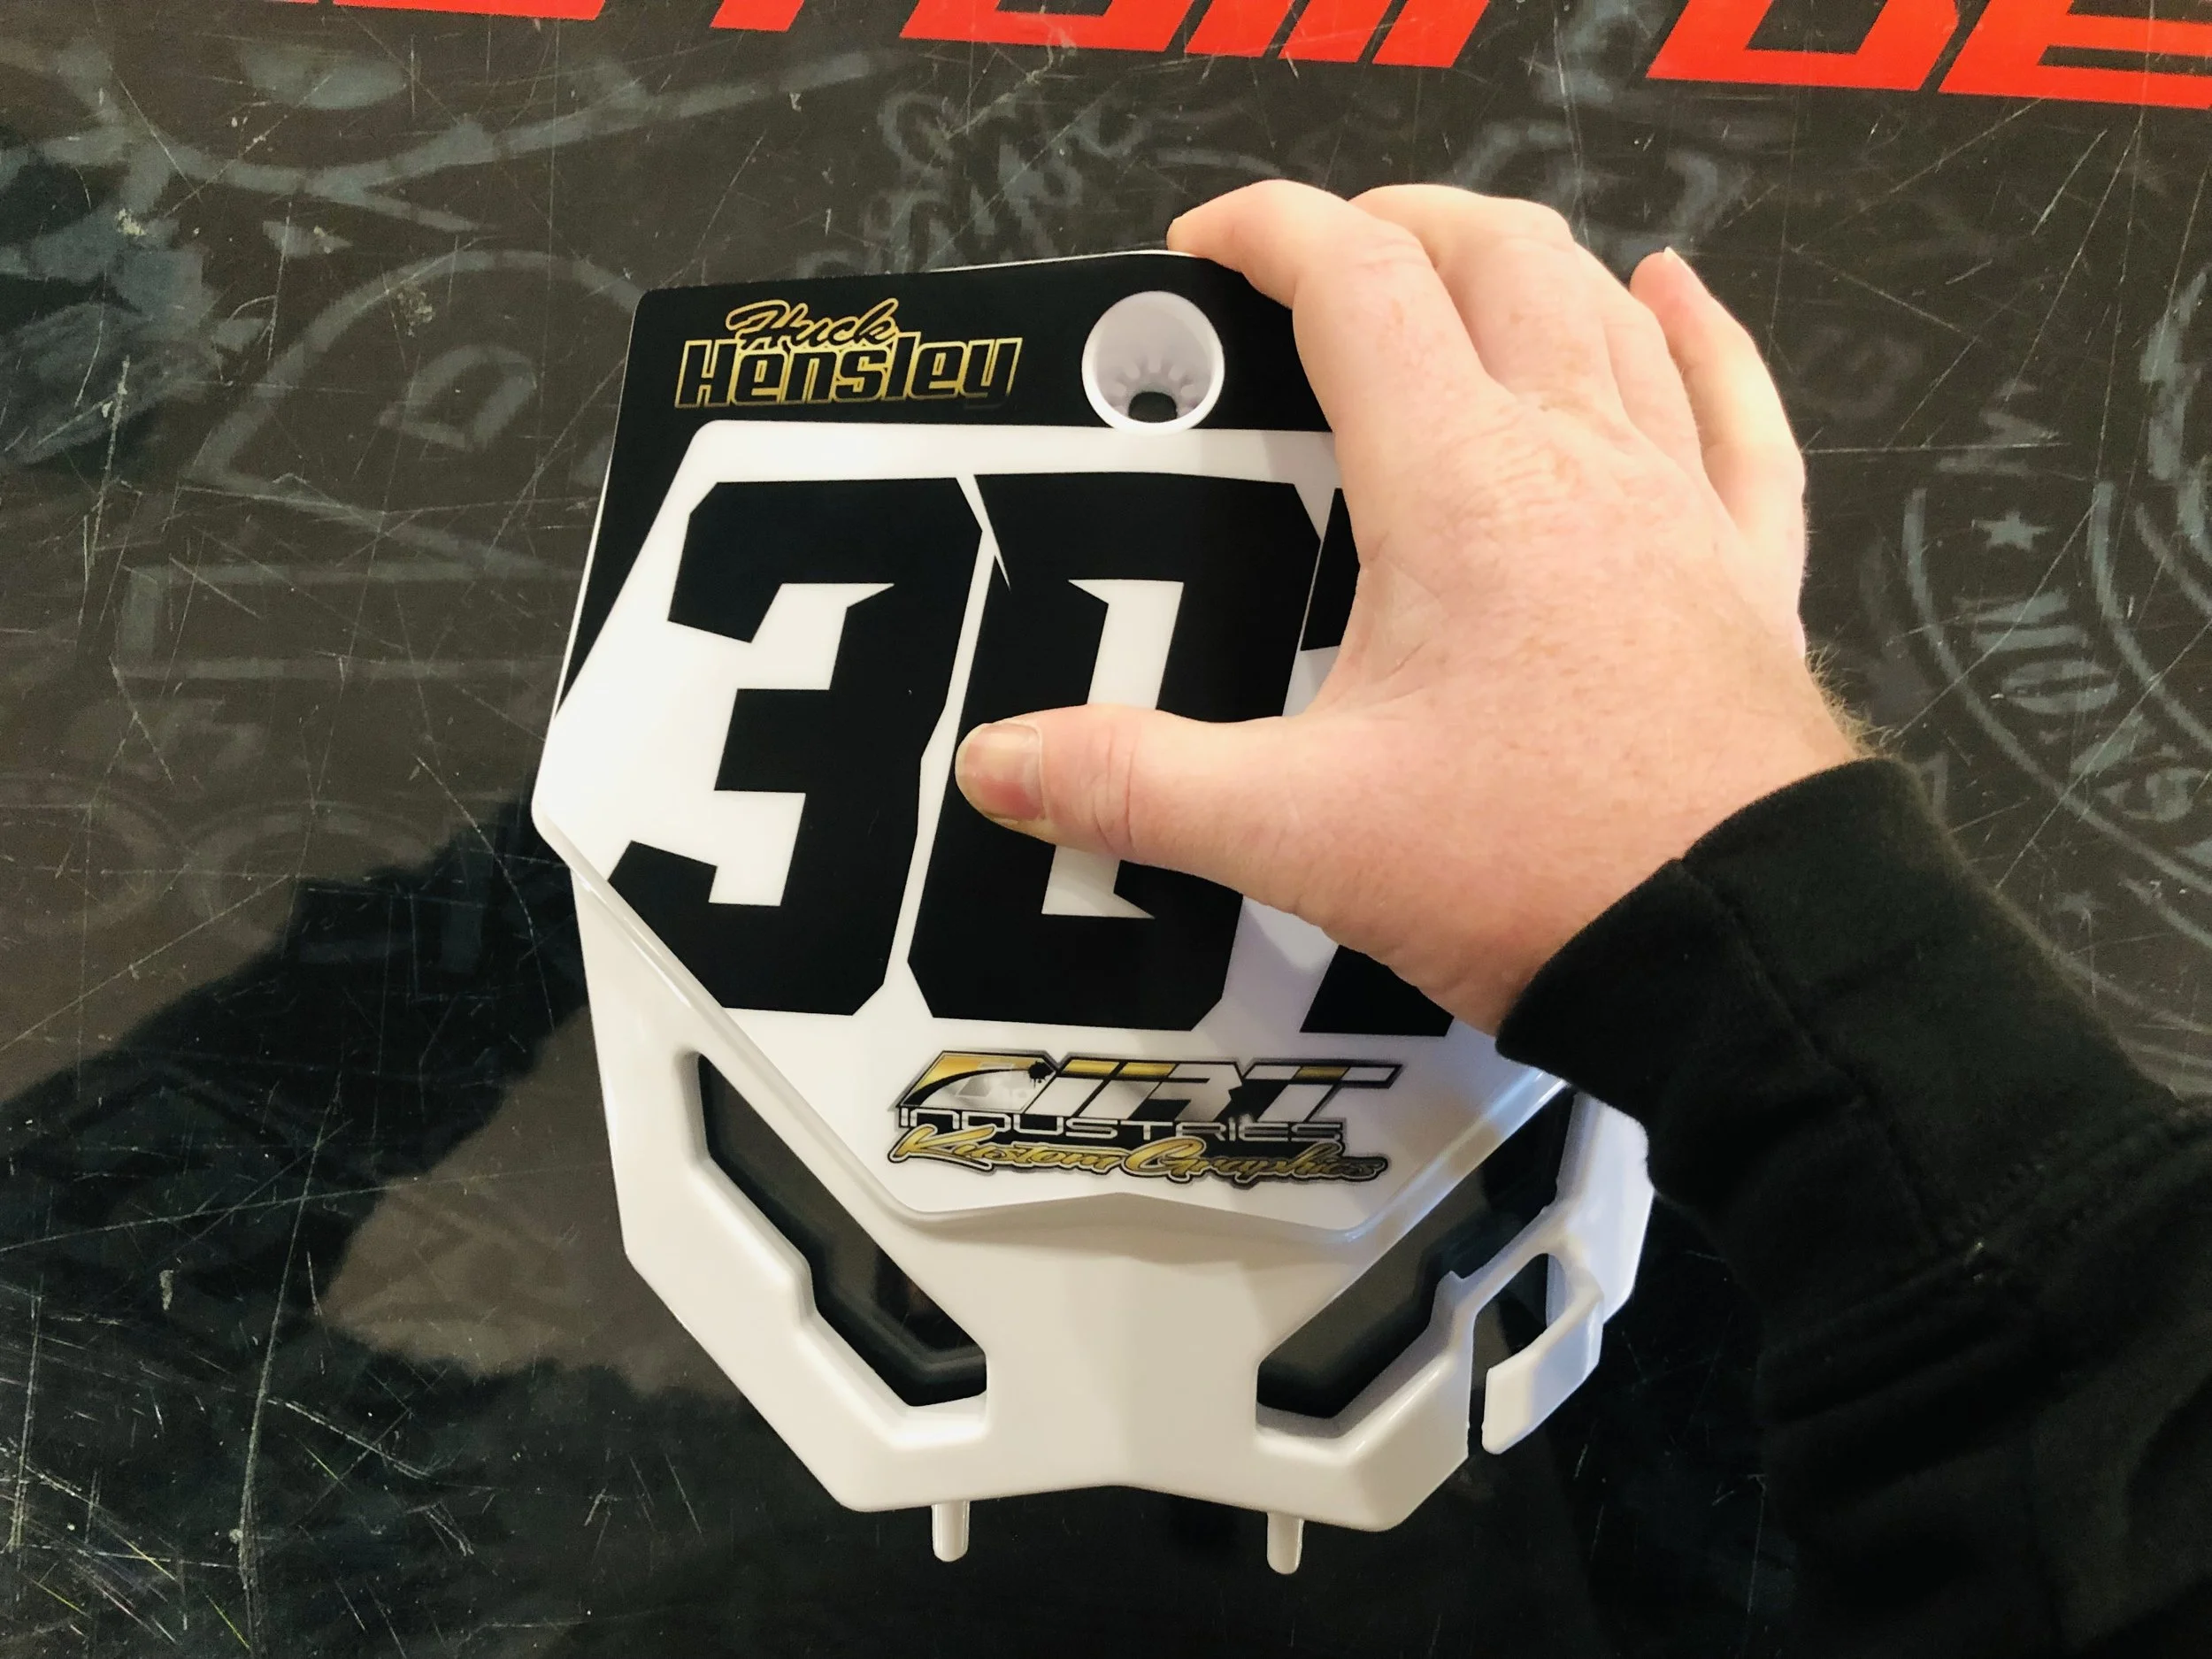
Dry fit graphics for fitment and alignment. This will also give you an idea of where you may want to start your install.
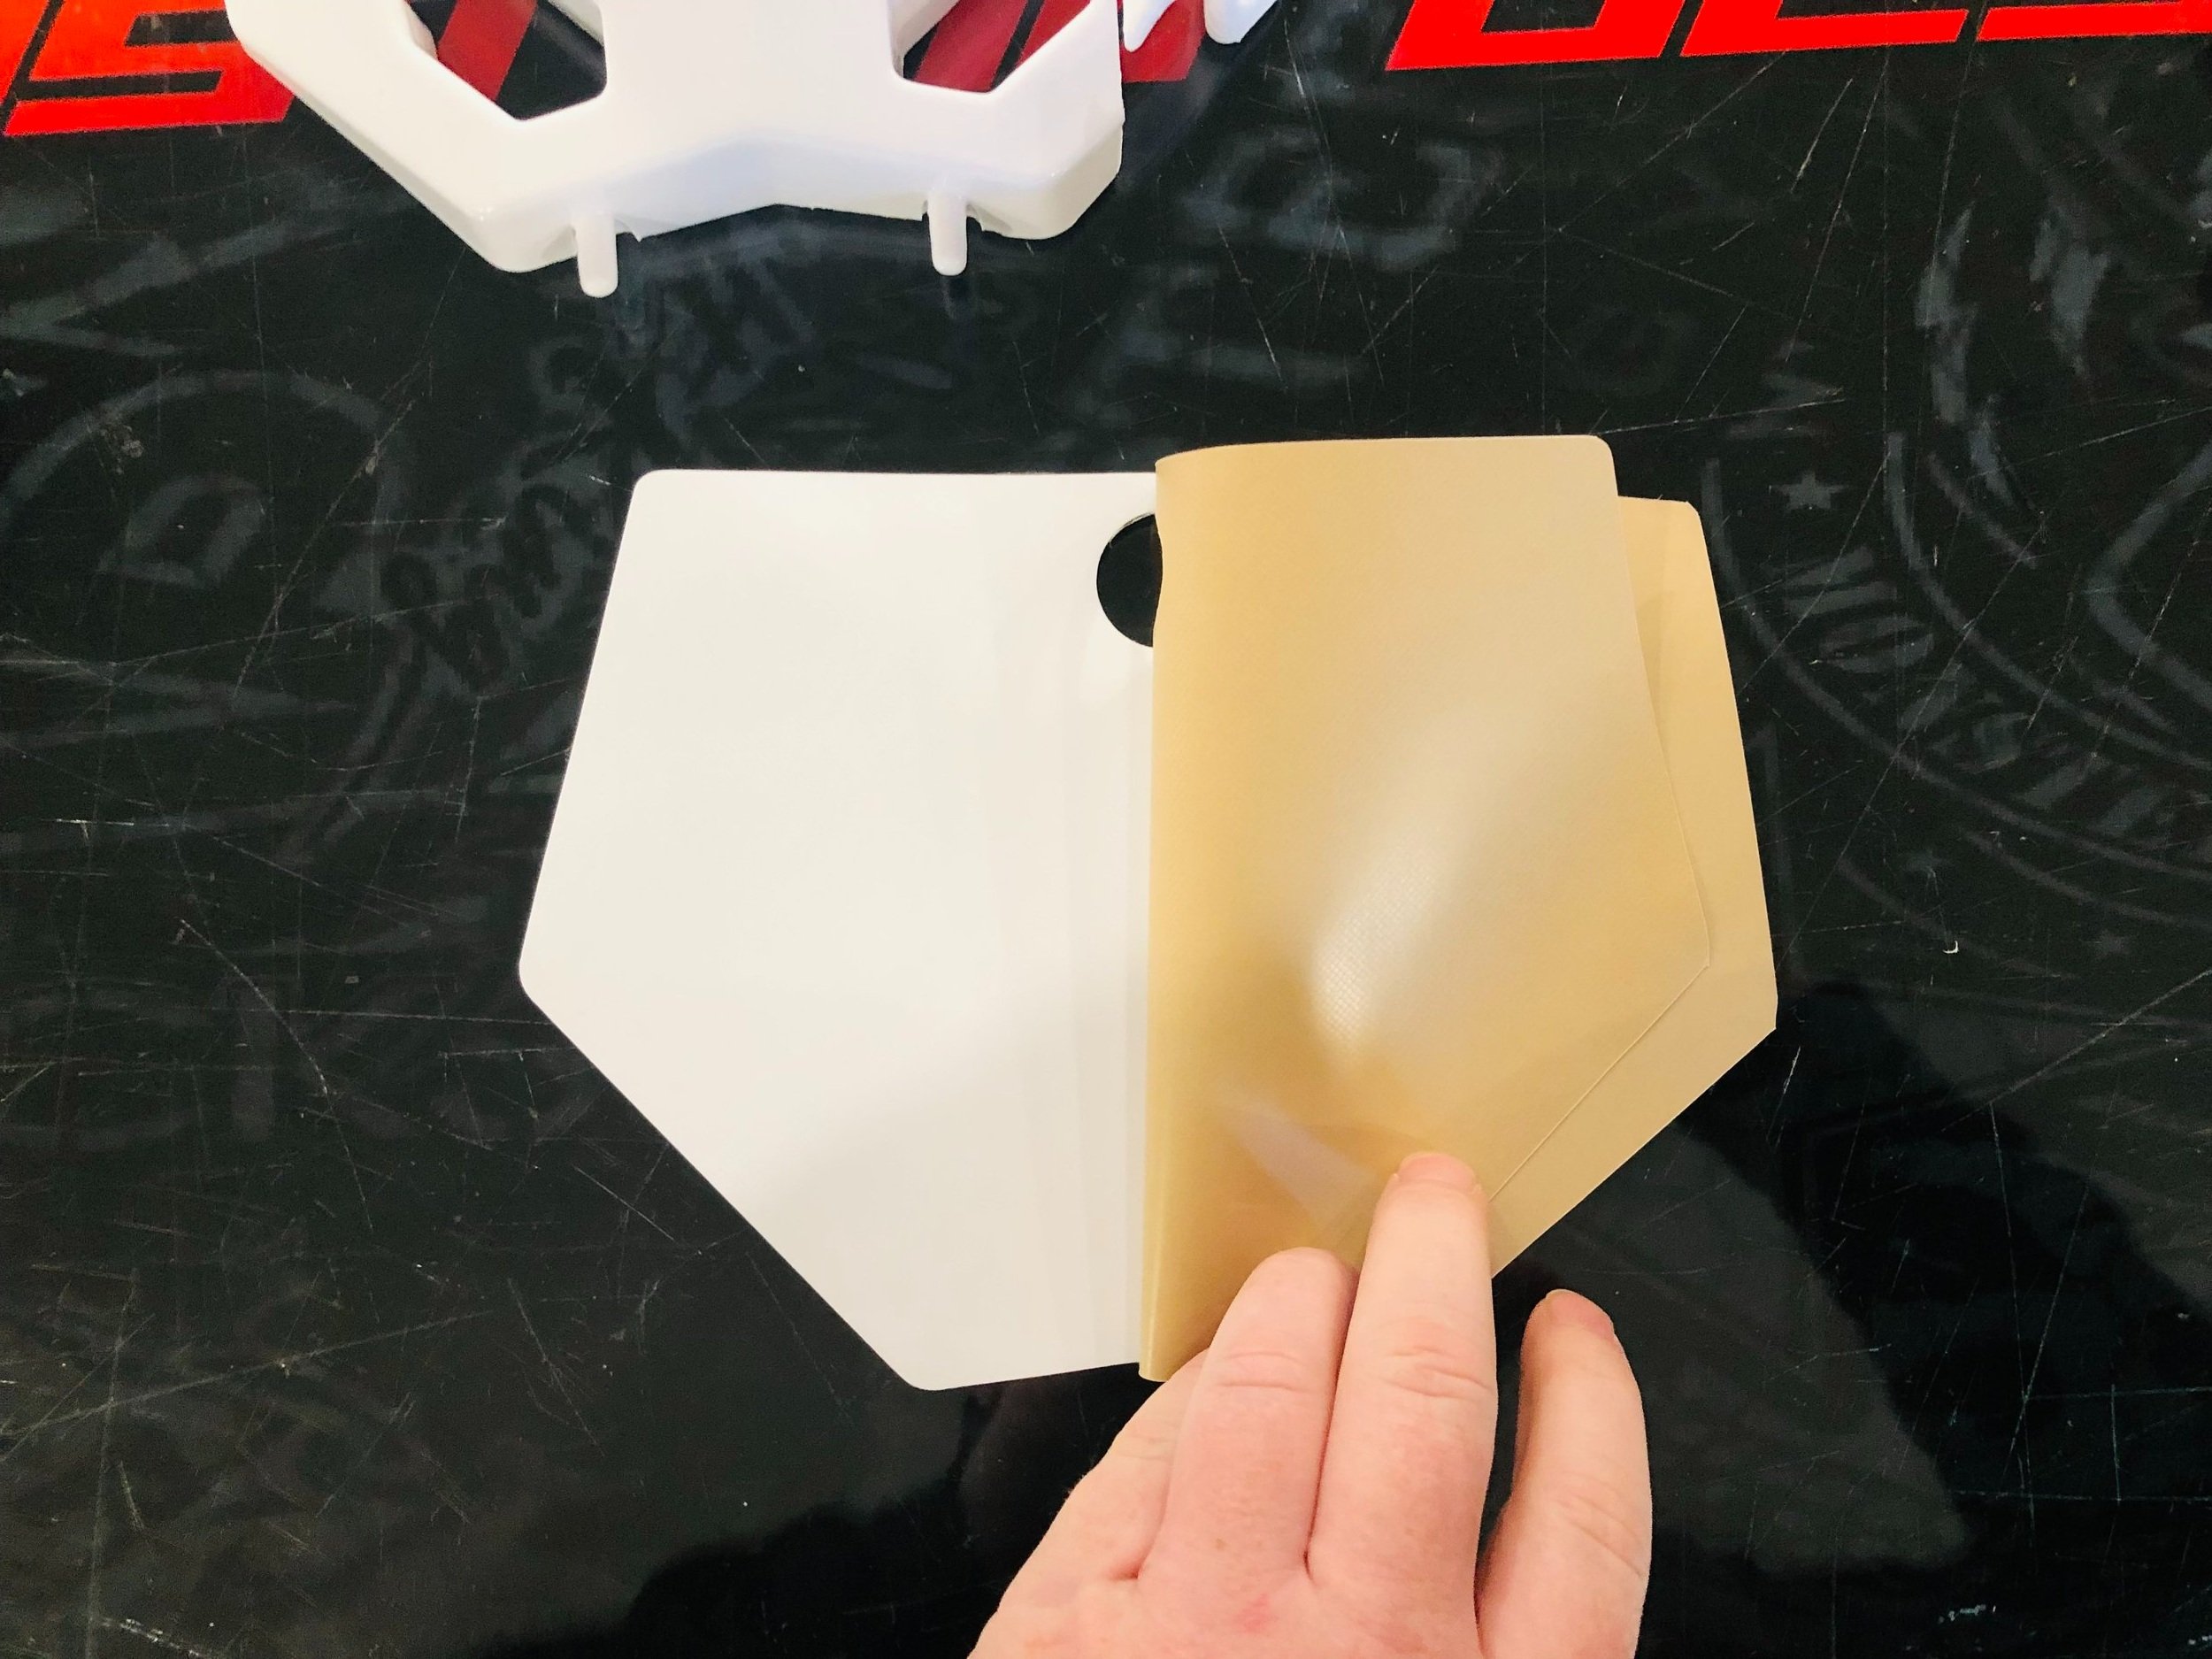
Step 3:
Peel 1/4 to 1/2 of the backing and fold over on itself. This is called the hinge technique. Doing this will also keep your graphics from sticking when not wanted and keep them clean while working on this area.

Step 4:
Start with a bolt hole or an edge with 2 sides if possible. This will give you the best chance of successfully getting your graphics to line up throughout the pieces.
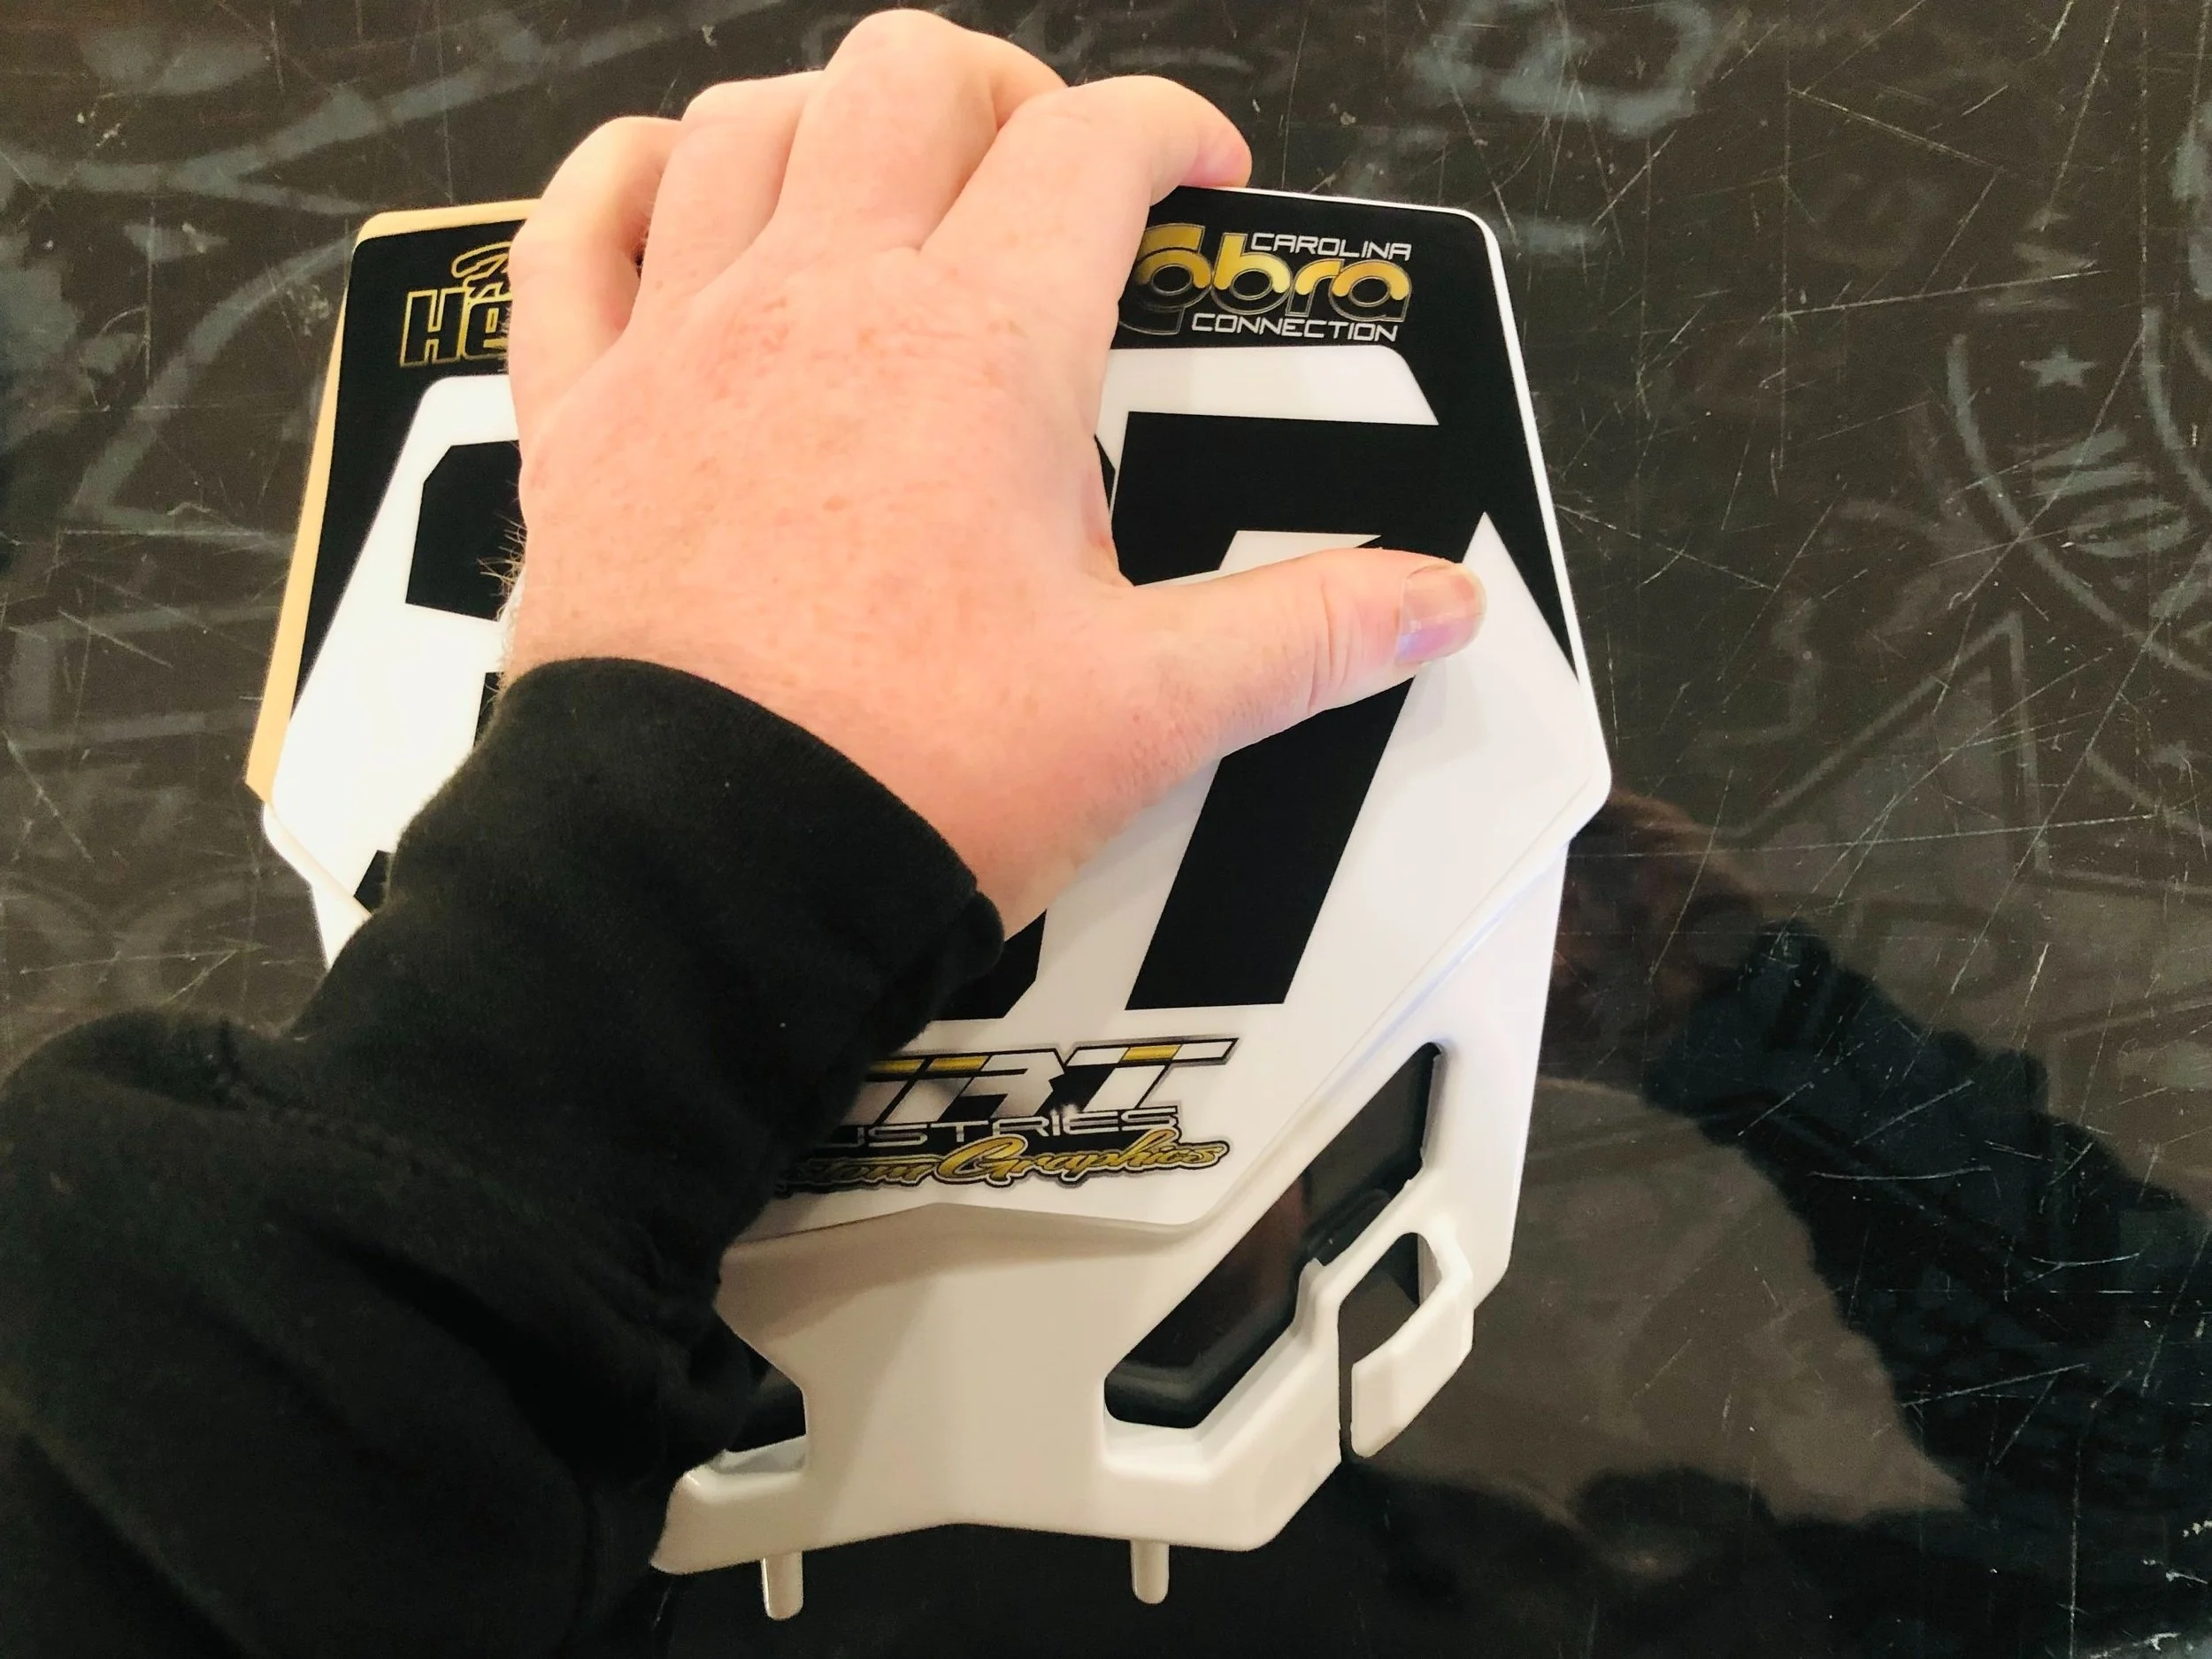
Step 5:
While applying pressure to the graphics, work your way from the middle to the outer edge.
Step 6:
We recommend removing the backing in increments as you work your way through the installation. This will keep the graphics from sticking when not needed and keep your graphics clean of debris.

Step 7:
Now that the graphics are in place, be sure to press down all edges and make sure there are no areas not sealed down all the way. This will also be a good time to look for any bubbles or imperfections in the install that you want to address.
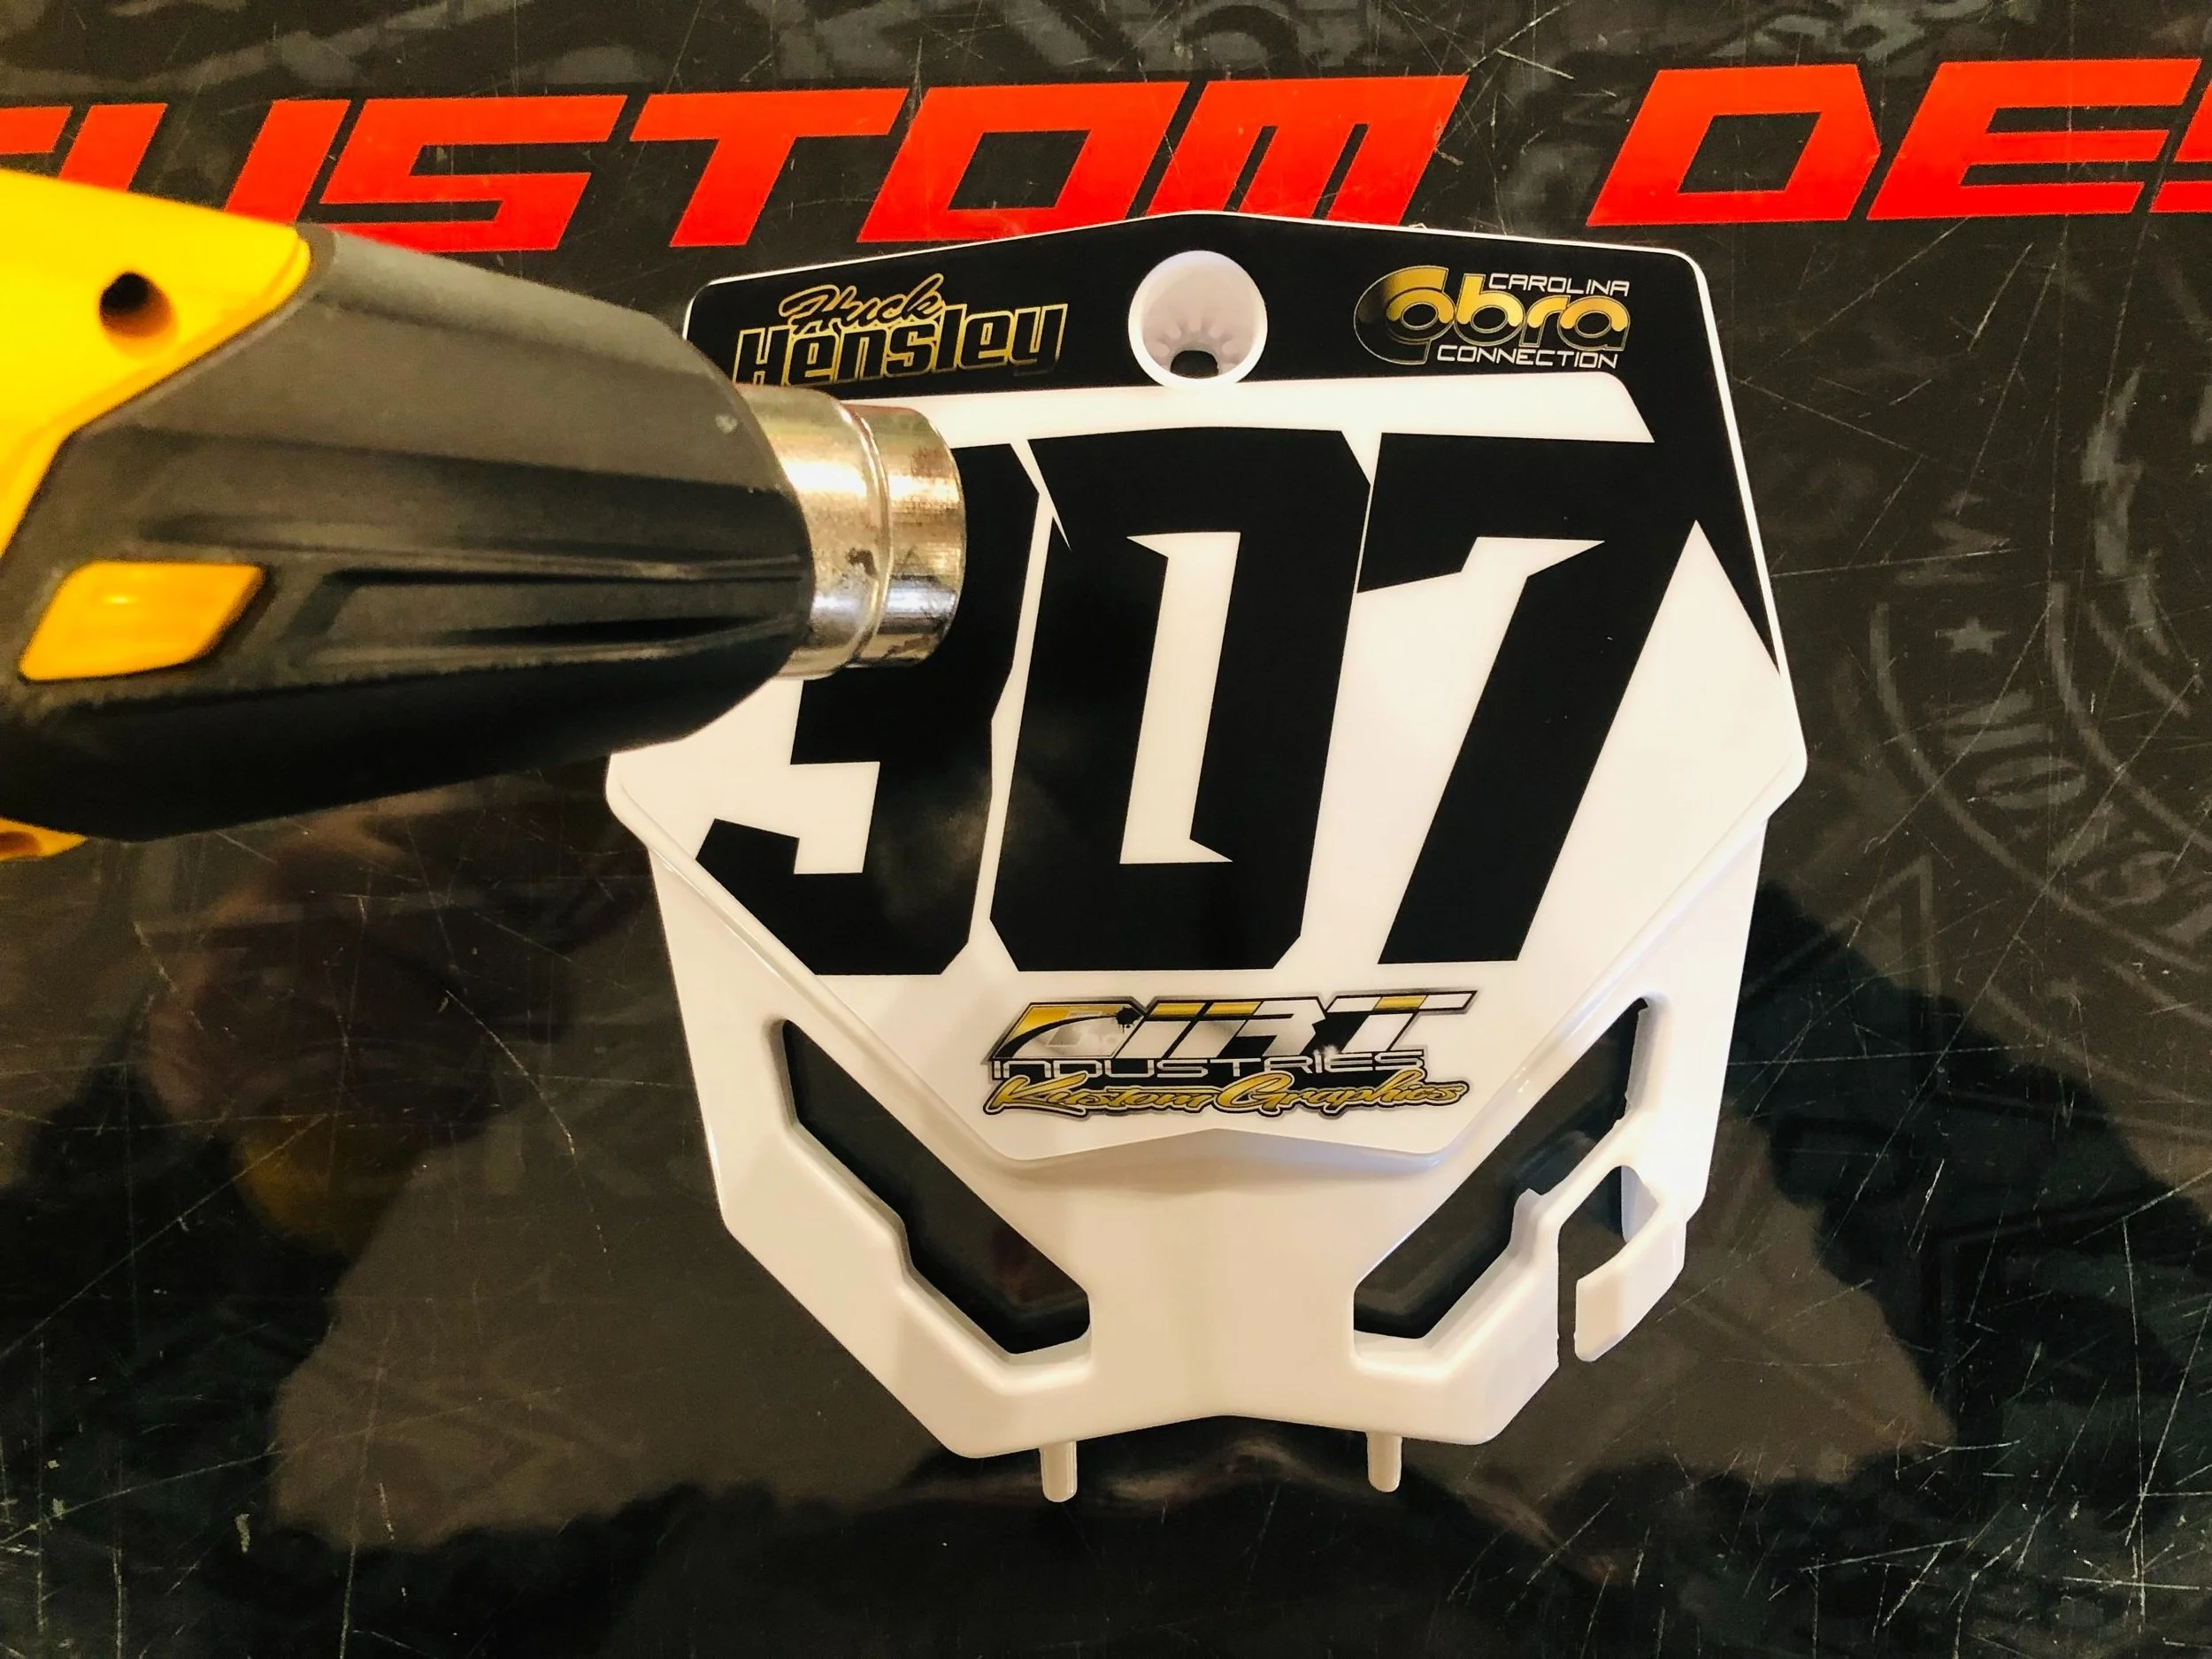
Step 8:
Now you will use a heat gun to post-heat the graphics thoroughly as well as do a final press to get a solid bond onto the plastics.

Step 9:
Once installation is complete, we recommend letting your graphics sit for 24-48 hours before riding with them.
Jersey I.D. Kit Installation
We recommend sending your Jersey to Dirt Industries Graphics for installation.
If you do not want to send your jersey to us we recommend taking it to a shop with a heat press.
-Setup Heat Press to 290F for an 8-10 second interval
-Align the jersey onto the Heat Press.
-Press the jersey for 3-5 seconds to remove any moisture and wrinkles in the jersey.
-Remove the backing plastic slowly.
-Align the I.D. kit accordingly on the jersey.
-Press the I.D. kit onto the jersey for 8-10 seconds at 290F
-If using a Teflon protection sheet when pressing please press for an additional 8 seconds.
-Remove the top protective plastic layer while warm.